


Popcorn ceilings can make even a clean home feel older than it really is. Their rough texture traps dust, creates shadows, and often stands out after the walls have been updated. If you are searching for how to remove a popcorn ceiling, the process begins with careful planning instead of picking up a scraper. Removing the texture the right way helps protect the drywall underneath and creates a smooth surface that is ready for a fresh finish.
This guide explains each stage of the project from inspection to cleanup. You will learn how to prepare the room, choose the proper tools, remove the texture safely, and repair the ceiling before painting. Good preparation is just as important as scraping, and taking the right steps from the start makes the entire project easier and more successful.
Check Your Ceiling Before Planning Any Removal Work
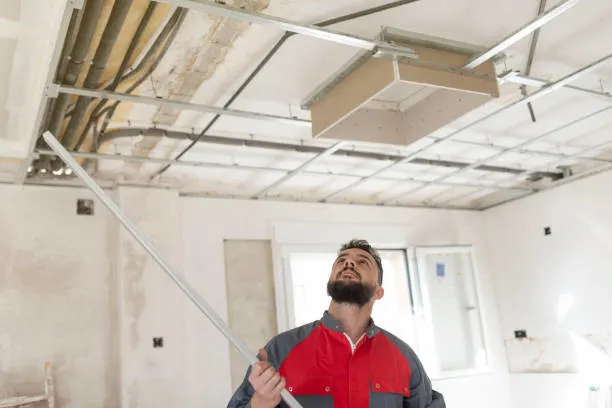
Every popcorn ceiling deserves a close inspection before work begins. The condition of the ceiling affects the safest removal method and helps you avoid unnecessary damage. Looking over the surface first also lets you spot previous repairs, water stains, or peeling areas that may need extra attention. Older ceilings may contain materials that require special handling. If your home was built many years ago, asbestos testing is strongly recommended before you remove popcorn ceiling texture. Testing provides peace of mind and helps you choose the safest approach for everyone in the home. A careful inspection can also reveal whether the existing surface can eventually be finished with a smooth wall texture after the popcorn material is removed.
Another important step is checking whether the texture has been painted. Removing popcorn from the ceiling becomes more difficult after the paint seals the surface because water cannot soak into the texture as easily. Understanding the age and condition of the ceiling helps you decide on the best way to remove the popcorn ceiling while reducing the risk of damaging the drywall.
Prepare The Room To Reduce Dust And Mess Completely
A clean project starts with protecting the room before any scraping begins. Popcorn texture creates a surprising amount of debris, and taking a few minutes to prepare the space saves hours of cleanup later. Proper preparation also protects your furniture, flooring, and electrical fixtures during DIY popcorn ceiling removal.
Before starting complete these steps:
- Remove furniture
- Cover flooring
- Shut off the electricity
- Seal vents
- Protect walls
- Wear safety equipment
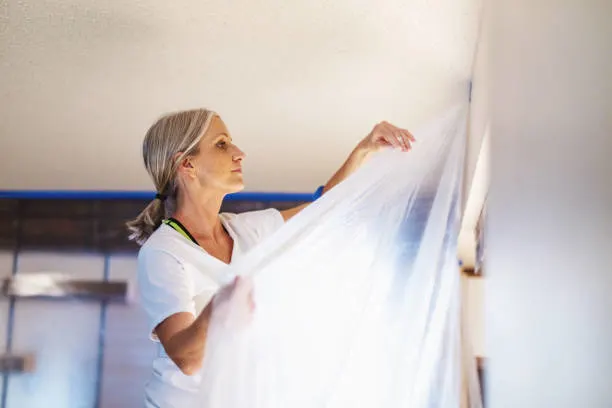
Use plastic sheeting for popcorn ceiling removal to cover floors, windows, and any items that cannot be moved. Tape the plastic securely so dust stays inside the work area. Turning off electricity before removing light fixtures or ceiling fans also improves safety. A well-prepared room allows you to remove popcorn ceiling texture with fewer interruptions. It also keeps dust from spreading into nearby rooms, making cleanup much faster when the project is complete.
Gather Every Tool Before Starting Ceiling Removal
Having the right equipment nearby makes the job smoother from beginning to end. Stopping midway to look for another scraper or sanding tool slows progress and increases the chance of making mistakes. Preparing your workspace with quality popcorn ceiling removal tools helps you stay focused on the task. Basic projects usually require a spray bottle or garden sprayer, a wide ceiling scraper, joint knives, a ladder, safety glasses, gloves, and dust masks. These tools to remove popcorn ceiling texture are enough for most residential ceilings and are easy to use for beginners. When removing fixtures or working around mounted items, careful handling can also help prevent anchor failure and unnecessary damage to the surrounding ceiling.
Larger projects may benefit from powered equipment, but many homeowners do not need expensive machines. Renting specialized equipment only makes sense for very large areas or commercial spaces. Choosing the right tool to remove a popcorn ceiling depends on the size of the room, the ceiling condition, and your comfort level with the project.
Choose The Right Removal Method For Your Ceiling
Not every popcorn ceiling can be removed using the same technique. The condition of the texture, previous paint, and moisture absorption all affect the best approach. Choosing the correct method before you begin helps protect the drywall and creates a smoother finished surface.
For ceilings that have never been painted, wet scraping is often the easiest option. Lightly misting the texture with a popcorn ceiling removal spray softens the material so it can be scraped away with less effort. Using too much water, however, can damage the drywall paper underneath, so apply only enough to dampen the surface.
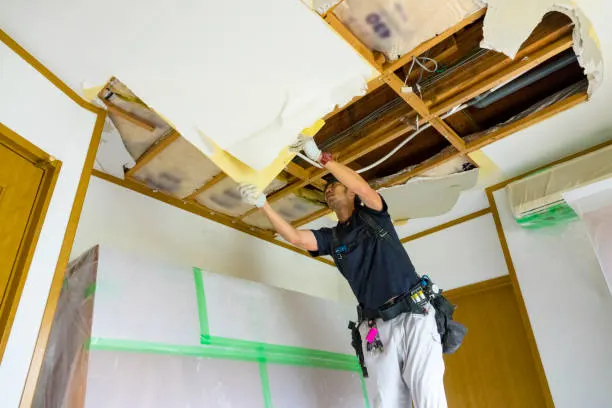
If you are removing painted popcorn ceiling texture, dry scraping or specialized removal products may work better because paint blocks moisture from soaking into the material. Testing a small area first allows you to see which method works best before committing to the entire ceiling. Selecting the proper technique makes it easier to remove popcorn ceiling texture while reducing repairs later. It also saves time by matching the removal method to the actual condition of the ceiling.
Follow This Step-by-Step Popcorn Ceiling Removal Guide
A careful process helps protect both the ceiling and the room below. Working in small sections keeps the project under control and reduces mistakes. Avoid rushing from one side of the room to the other. Slow and steady work usually produces a smoother finish. Keep your tools clean throughout the project. Clean scrapers and fresh water make each section easier to complete.
Protect The Entire Work Area
Cover floors, furniture, and walls before you begin. Seal doorways and air vents with plastic to keep dust from spreading into other rooms. Good preparation makes DIY popcorn ceiling removal safer and reduces cleanup time.
Spray the ceiling evenly with water
Lightly mist a small section of the ceiling using clean water. Let the moisture soak into the texture for several minutes before scraping. This is often the easiest way to remove a popcorn ceiling because the softened texture comes off with less force.
Test A Small Section Before Scraping
Choose a small area in a corner before working across the room. If the texture lifts away easily, continue with the same method. If not, allow a little more soaking time or adjust your approach. Testing first helps confirm the best way to remove a popcorn ceiling without damaging the drywall.
Remove The Texture Using Light Pressure
Hold the scraper at a low angle and push gently across the ceiling. Avoid digging into the drywall beneath the texture. Smooth and even pressure removes more material while leaving fewer marks behind.
Continue Across The Ceiling In Sections
Finish one small section before moving to the next. This keeps the moisture level consistent and helps maintain an even appearance. Working in sections also makes diy popcorn ceiling removal feel more manageable.
Allow The Ceiling Surface To Dry Completely
Once all the texture has been removed, allow the ceiling to dry naturally. Drying time depends on humidity and room temperature, but the surface should feel completely dry before repairs begin.
Inspect the ceiling for remaining texture
Walk around the room and look at the ceiling from different angles. Small patches of texture are easier to spot with good lighting. Scrape away any remaining material before moving on.
Prepare The Surface For Final Repairs
After the ceiling has dried, lightly sand rough areas and fill small imperfections with joint compound. Preparing the surface now creates a stronger base for primer and paint. Following this complete process is the best way to remove a popcorn ceiling while achieving a clean, professional finish.
Remove Painted Popcorn Texture Without Damaging Drywall
Paint changes the way popcorn texture behaves during removal. Once the texture has been sealed, water cannot soften it as easily. Trying to scrape a painted ceiling too aggressively often tears the drywall paper underneath. A careful approach reduces repairs and makes the project much less frustrating.
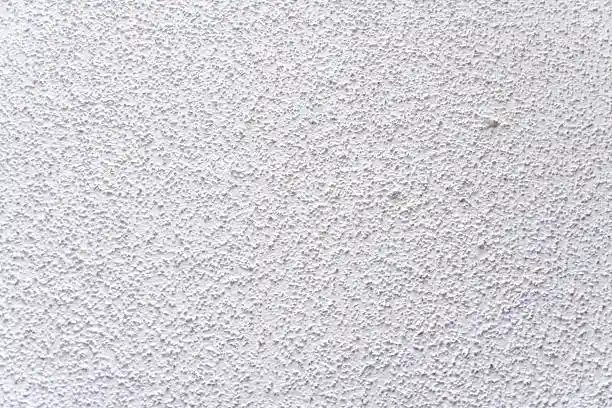
Recognize A Painted Popcorn Ceiling
Rub your hand lightly across the ceiling. If the surface feels hard and little or no texture comes off, it has likely been painted. Another sign is water remaining on the surface instead of soaking in. Removing a painted popcorn ceiling usually requires more patience than an unpainted texture.
Select A Safe Removal Technique
Begin by testing a small hidden area. A specialized popcorn ceiling removal spray may soften the paint enough for easier scraping. If the texture remains difficult to remove, gentle sanding or skim coating the ceiling may be a better option than forcing the scraper. Taking the right approach helps remove popcorn ceiling texture while protecting the drywall below.
Handle Difficult Ceiling Areas With Better Techniques
Corners, edges, and spaces around fixtures often take more time than large open sections. These areas require better control because there is less room to move the scraper. Working carefully around obstacles helps produce a consistent finish across the entire ceiling. Remove light fixtures and ceiling fan covers whenever possible before scraping. This gives better access and reduces the chance of damaging the surrounding surface. For tight corners, a smaller ceiling popcorn removal tool provides better control than a wide scraper.
Keep the scraper flat against the ceiling near the edges and work slowly around the trim. Rushing these areas often leaves deep scratches that require extra repairs later. Using the right popcorn ceiling removal tool makes removing popcorn from the ceiling much easier while creating a cleaner finished appearance.
Repair Small Surface Damage Before Applying New Finish
Even careful scraping can leave behind a few small marks. Minor repairs help create a smooth ceiling that is ready for primer and paint. Take time to inspect the entire surface before starting repairs. Small flaws are much easier to fix now than after painting. A little extra preparation gives the ceiling a clean and professional appearance.
Fill Minor Scratches And Gouges
Apply a thin layer of joint compound over scratches, dents, or shallow gouges left during scraping. Use a wide drywall knife to spread the compound evenly across the damaged area. Allow it to dry completely before applying another coat if needed. This step helps remove popcorn ceiling texture without leaving visible repair marks. More noticeable damage may require drywall repair before the final finish can be applied.
Sand The Ceiling For A Smooth Surface
Once the repairs have dried, sand the ceiling lightly until the surface feels even. A drywall sander for popcorn ceiling removal works well on larger ceilings, while a sanding sponge is useful for smaller repairs. Smooth sanding improves paint adhesion and helps complete a successful DIY popcorn ceiling removal project.
Clean the workspace without spreading fine dust
Cleaning the room carefully is just as important as removing the ceiling texture. Fine dust can settle throughout the home if debris is handled carelessly. A planned cleanup also improves indoor air quality before the room is used again. Once the ceiling is properly repaired and prepared, residential painting can give the updated space a clean, finished appearance.
Follow these cleanup steps:
- Fold the plastic inward
- Vacuum thoroughly
- Wipe remaining dust
- Dispose of debris safely
- Clean air vents
As you remove the protective covering, fold the plastic sheeting for popcorn ceiling removal inward so loose debris stays contained. Use a popcorn ceiling removal vacuum or a vacuum with a fine dust filter to clean floors, walls, and other surfaces. Finish by wiping everything with a damp cloth to remove any remaining dust.
Know When Covering The Ceiling Makes More Sense
Removing popcorn texture is not always the best solution. Some ceilings are in good condition but have been painted several times, making removal difficult. In these situations, homeowners may prefer to cover a popcorn ceiling without removing it instead of scraping the entire surface. Ceiling overlays, decorative panels, or a new layer of drywall can provide a smooth appearance with less mess. These options are often considered when the existing texture contains asbestos or when the ceiling has extensive damage that would require major repairs after scraping.
Compare the time, cost, and condition of your ceiling before making a decision. While many people choose to remove popcorn ceiling texture, covering it may provide a better result, depending on your renovation goals. Understanding both options helps you make an informed choice before removing popcorn from the ceiling begins.
Avoid Common Problems During Popcorn Ceiling Removal
Many homeowners create extra work by making simple mistakes during removal. Planning and using proper techniques helps protect the drywall while improving the finished appearance. Good preparation also saves time during repairs and cleanup.
Avoid these common mistakes:
- Oversaturating the ceiling
- Scraping too aggressively
- Skipping room protection
- Using dull tools
- Painting before repairs
- Ignoring damaged drywall
Applying too much water can soften the drywall paper and cause surface damage. Using excessive force with a scraper often leaves deep gouges that require additional repairs. Sharp popcorn ceiling removal tools remove texture more cleanly than worn blades. Allow all repairs to dry completely before priming or painting. Rushing the final steps may leave visible flaws that are difficult to hide later. Careful planning makes DIY popcorn ceiling removal easier and helps you remove popcorn ceiling texture with better long-term results.
Decide When Professional Removal Is The Better Choice
Some popcorn ceiling projects become more challenging than expected. Large rooms, high ceilings, and heavily painted surfaces often require more time, specialized equipment, and experience than a typical homeowner has. In these cases, professional removal can save both time and frustration. Older ceilings that may contain asbestos should never be disturbed without proper testing and safety procedures. Large commercial spaces may also benefit from a machine to remove popcorn ceiling texture because powered equipment can improve efficiency across wide areas. Professionals often use a popcorn ceiling removal machine or ceiling popcorn removal machine designed to reduce dust while speeding up the removal process.
If the ceiling has water damage, loose drywall, or extensive repairs, hiring an experienced contractor is often the safest choice. Professional removal helps protect the ceiling structure while delivering a smooth surface that is ready for refinishing. Once preparation and repairs are complete, interior painting can complete the transformation and create a more modern appearance.
Essential Checks Before Calling The Project Complete
Before considering the project finished, inspect the entire ceiling under good lighting. Look for missed texture, rough patches, or repair areas that may need a final light sanding. Rockstar Painting recommends running your hand across the surface as a simple way to find imperfections that are difficult to see. Make sure all dust has been removed before applying primer and paint. A clean ceiling allows coatings to bond properly and creates a smoother final appearance. Taking time to complete these final checks helps the finished ceiling look even and professionally refinished.
If the project feels too large, involves older textured ceilings, or requires extensive surface repairs, Rockstar Painting can help. Our professional popcorn ceiling refinishing services deliver smooth, modern ceilings with careful preparation, expert workmanship, and lasting results.
Frequently Asked Questions About Popcorn Ceiling Removal
Before removing a popcorn ceiling, review these frequently searched questions. They address concerns many homeowners have before, during, and after the project.
Yes. Careful room preparation helps reduce dust significantly. Cover floors and furniture with plastic sheeting, seal vents and doorways, and lightly dampen the ceiling before scraping. Cleaning as you work also helps keep dust under control.
Apply a light, even mist until the texture is damp but not soaked. Let it sit for several minutes before testing a small area. Too much water can damage the drywall paper, while too little makes scraping more difficult.
It can if too much pressure is used or the ceiling becomes overly wet. Working with a sharp scraper at a low angle and removing the texture gently helps protect the drywall surface.
Yes. Once the ceiling is repaired, sanded, and primed, it can be painted with a quality ceiling paint. Primer is important because it seals repairs and helps the paint dry evenly.
A wide ceiling scraper with an extension handle is a good choice for large areas. Some scrapers include collection bags that catch falling debris and reduce cleanup.