


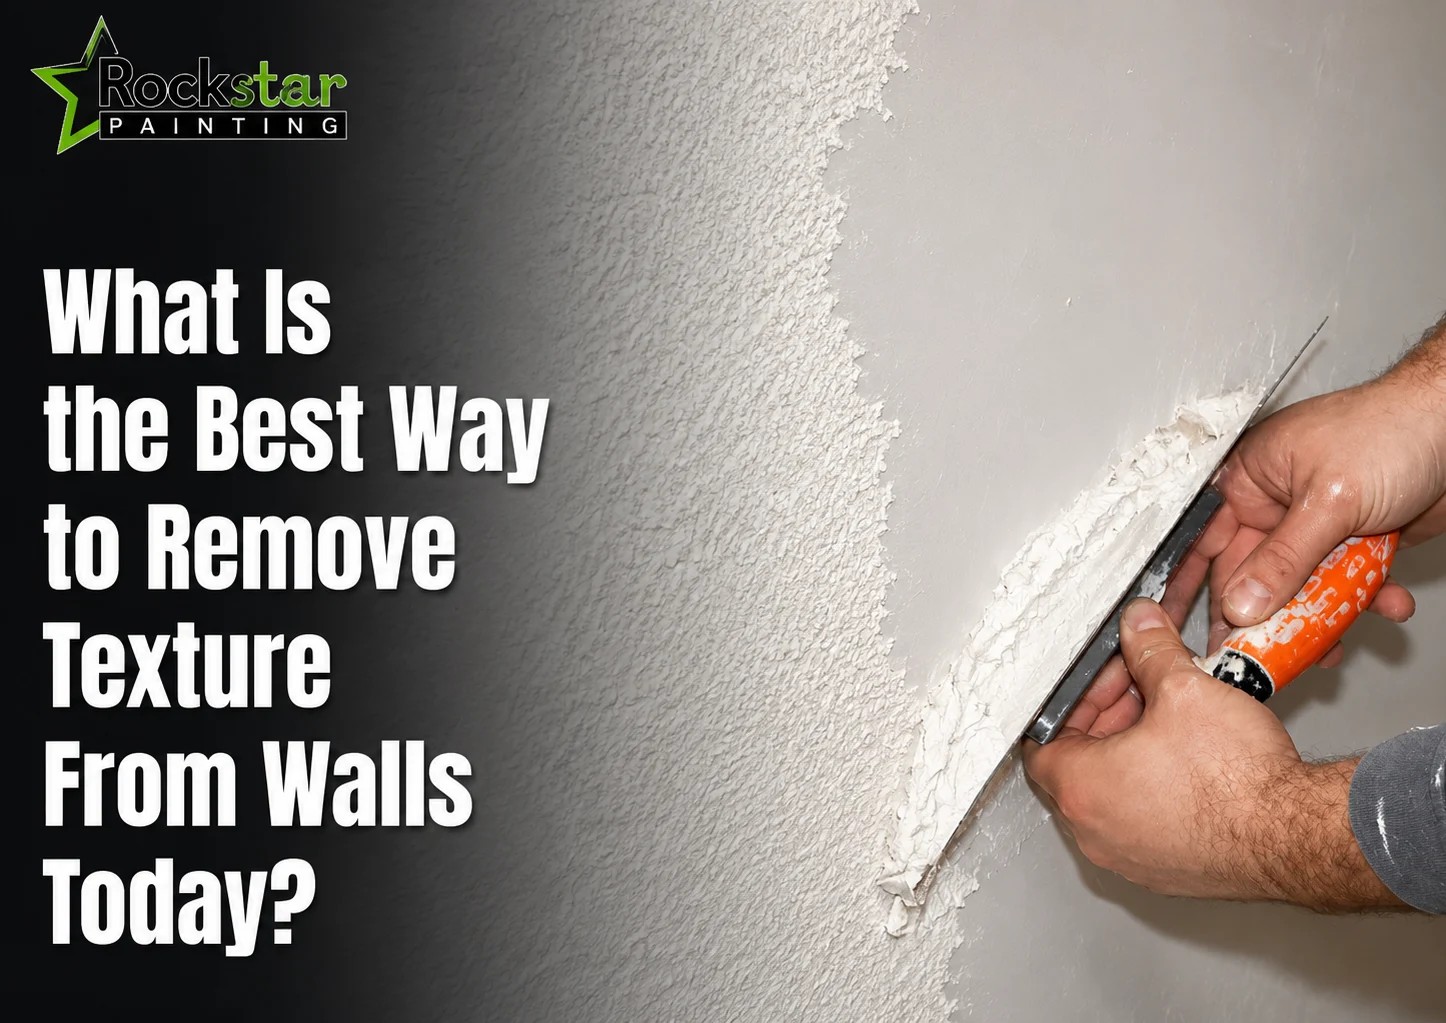
Textured walls can make an otherwise updated room feel dated, even after new paint, flooring, or décor has transformed the rest of the space. The best way to remove texture from walls depends on more than the texture itself. Using the wrong approach can damage drywall paper, create unnecessary repairs, and add time and expense to the project. Factors such as whether the wall has been painted, the depth of the texture, the wall material, and the type of finish you want all influence the right solution.
Rather than relying on a single method for every situation, it helps to understand what each technique is designed to do. A lightly painted surface may respond differently than a heavily coated knockdown texture, while some walls are better refinished than aggressively scraped. This guide compares wet scraping, sanding, and skim coating, explaining when each method works best, where it has limitations, and how to achieve a smooth, modern finish with the least risk of damaging the drywall underneath.
Why One Method Does Not Fit Every Wall
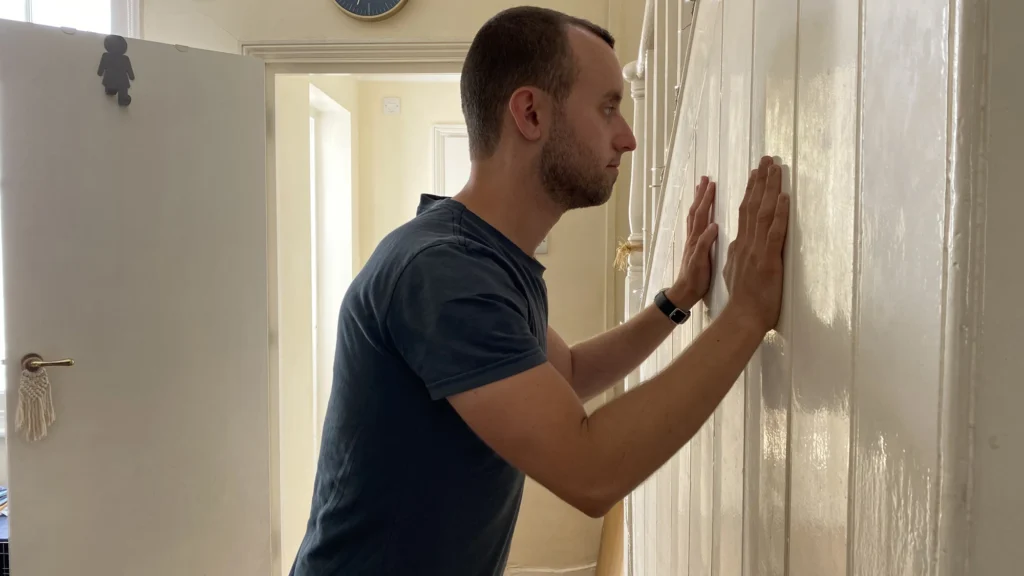
Choosing the best way to remove texture from walls starts with evaluating the surface rather than selecting a tool. The most effective wall texture removal method depends on whether the texture has been painted or sealed, how deep or aggressive the pattern is, whether the wall is drywall, plaster, or coated with textured paint, and whether your goal is to soften the texture or create perfectly smooth textured walls ready for a modern finish.
A lightly textured orange peel wall, for instance, may only require skim coating to achieve a clean appearance, while a heavily painted knockdown or skip-trowel finish often demands a different approach because scraping alone may damage the drywall beneath.
Know the Texture Before Choosing a Tool
Identifying the types of wall texture before starting helps prevent unnecessary sanding, avoids damage to the drywall surface, and makes it easier to choose the most effective removal method. Different textures respond differently to scraping, sanding, and skim coating, so matching the technique to the wall can save significant time and repair work.
Light Orange Peel Texture
Light orange peel texture removal is often the simplest because the surface contains small, shallow dimples rather than deep ridges. In many cases, light sanding or a thin skim coat is enough to reduce the texture and create a smoother surface ready for primer and paint.
Knockdown and Skip-Trowel Texture
Knockdown texture removal is typically more involved because the finish contains broader peaks and deeper valleys. Flattening the highest areas first is often necessary before applying one or more skim coats to achieve a consistent, smooth finish. The same careful approach is recommended when working with pull trowel texture finishes.
Heavy or Failing Texture
Walls with loose texture, visible cracks, delamination, or multiple layers of old paint require closer inspection before removal begins. A homeowner renovating an older room, for example, may discover that sections of texture separate from the wall during scraping, indicating that repairs or, in severe cases, partial drywall replacement should be completed before refinishing.
The Water Test That Changes the Whole Job
Before deciding, can you scrape the texture off the walls? Perform a simple test in a hidden area, such as behind furniture or inside a closet. Lightly apply a small amount of water, allow it a few minutes to absorb, and then gently test the surface with a drywall knife. This quick check often reveals whether the texture is likely to release easily or whether another repair method will produce better results.
Texture Softens
If the surface softens after absorbing water, the finish is likely unpainted wall texture made from drywall compound. In many cases, careful wet scraping can remove much of the texture while reducing airborne dust.
Water Beads or Runs Off
If the water stays on the surface or runs off without soaking in, the finish is probably painted wall texture or sealed. A homeowner updating a previously painted living room, for instance, may find that scraping removes very little while increasing the risk of damaging the drywall paper. In these situations, skim coating is often a more practical solution.
Safety note: If you are working on an older wall and expect to sand, scrape, or generate dust, consider having the surface tested for hazardous materials where appropriate before beginning the project. This is especially important if the age or previous coatings of the wall are unknown.
Compare the Four Routes to Smooth Walls
Choosing between different wall smoothing methods becomes much easier when you match the technique to the condition of the wall rather than using the same approach for every surface.
| Method | Best For | Final Result | Main Challenge |
| Wet scraping | Unpainted, water-soluble texture | Texture is physically removed | Can tear drywall paper |
| Skim coating | Painted or sealed texture | Smooth, modern wall | Requires controlled thin coats |
| Sanding | Light or shallow texture | Reduces visible texture | Creates dust and may expose drywall paper |
| New drywall | Severe or failing surfaces | Completely new finish | Affects trim, outlets, and room depth |
The choice often depends on what lies beneath the texture. In a scrape vs skim coat comparison, wet scraping is generally more effective when the texture is unpainted and softens with water because the material can often be removed directly. For painted or sealed finishes, skim coating is usually the more versatile option because it creates a smooth surface without aggressively removing bonded texture. When deciding whether to sand or skim coat textured walls, sanding is typically best reserved for light texture reduction or blending surfaces rather than removing heavy finishes. If the wall is badly damaged, loose, or beyond practical repair, replacing the drywall may provide the cleanest long-term result.
When Wet Scraping Is the Right Move
Wet scraping is effective only when moisture can penetrate the surface and soften the material, making it easier to scrape texture from walls without excessive force or damage. This method is most suitable when you are dealing with unpainted wall texture that was applied with water-based compounds rather than sealed or painted finishes.
Protect and Test the Surface
Begin by covering floors, trim, and nearby fixtures to protect them from debris. Always start with a small test section to confirm that the texture reacts to moisture. If the material softens, the surface is likely suitable for a wet scrape wall texture approach.
Soften the Texture Gradually
Lightly mist a manageable section of the wall, allowing the moisture to absorb without oversaturating the drywall. Give the compound time to loosen so it can be removed more cleanly.
Scrape at a Shallow Angle
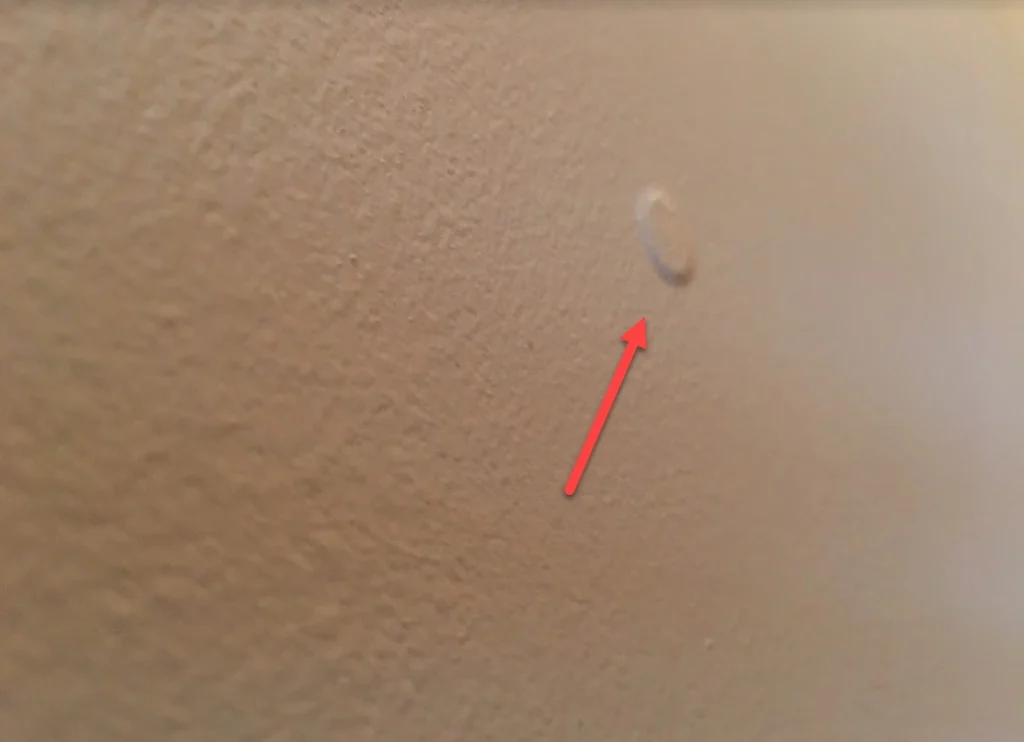
Use a wide drywall knife and apply light, controlled pressure while scraping. Work at a shallow angle and stop immediately if the drywall paper begins to show through. Over-scraping can damage the surface and increase repair work.
After removal, the wall typically requires patching, light sanding, and a coat of primer before it is ready for painting, helping restore a smooth and even finish.
Why Painted Texture Needs a Skim Coat
When texture has been painted or sealed, removal becomes difficult because the material is bonded to the surface. Instead of trying to strip every ridge, the more reliable approach is to skim coat textured walls, creating a new flat layer that covers the existing pattern. This method is widely used when you want to remove texture from painted walls without risking damage to the drywall paper underneath.
Flatten the Highest Texture Peaks
Begin by reducing only the sharpest or highest points of the texture. The goal is not full sanding, but simply knocking down peaks so the surface is easier to level with compound.
Clean and Prepare the Wall
Proper preparation is essential. Remove dust and grease, repair any loose texture, seal areas where drywall paper is damaged, and prime glossy or questionable surfaces when needed. A clean base helps the joint compound skim coat bond evenly. If the wall has deeper issues, complete damaged drywall repair before skim coating.
Apply Thin Joint Compound Coats
Use all-purpose joint compound applied with a roller or drywall knife, then smooth it using a wide skimming blade. Work in controlled sections and avoid thick layers, as heavy buildup can lead to cracking and uneven drying.
Let Each Coat Dry Fully
Each layer must dry completely before the next application. Rushing this step can cause bubbles, soft spots, cracks, ridges, and additional sanding work later.
Choose the Right Finish Level
A Level 4-style finish is typically suitable for most interior paint jobs, providing a clean and consistent surface. However, a Level 5 drywall finish is often recommended in areas with strong lighting or higher-sheen paint, where even small imperfections may become visible.
Can Sanding Alone Make Walls Smooth?
Sanding can reduce texture, but it does not always correct the underlying surface, which is why many homeowners cannot fully sand textured walls into a smooth finish without additional work. It can be effective for light orange peel, shallow texture, small patched areas, or situations where the goal is only minor texture reduction rather than a full transformation.
However, sanding wall texture becomes inefficient when dealing with heavy painted finishes, multiple layers of paint, deep knockdown valleys, or large rooms. In these cases, sanding alone often fails to create a consistent surface and may still require skim coating afterward.
There are also important risks to consider. Aggressive sanding can damage drywall paper, expose seams and fasteners, generate large amounts of fine dust, and leave low or uneven spots that remain visible after painting. For this reason, it is rarely the best way to remove texture without skim coating when a truly smooth finish is the goal.
In most cases, sanding is best used to knock down high points rather than complete the entire smoothing process.
When New Drywall Saves More Time
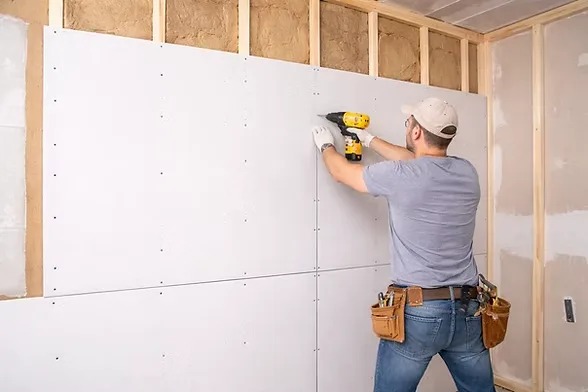
Sometimes the most efficient solution is not removal but replacement. In cases where you need to cover textured walls, installing new drywall can save time and create a more consistent finish, especially when the existing surface is heavily compromised. Similar surface preparation is often completed before popcorn ceiling removal projects to achieve a uniform finish.
This approach makes sense when the texture is extremely heavy, the drywall is already damaged, multiple failed coatings exist, or when electrical and insulation work are already planned. It is also practical when an entire home requires refinishing rather than isolated repairs.
However, there are trade-offs to consider. Outlets may need adjustment, baseboards and door trim can be affected, window and door returns may become shallower, and all new seams still require professional taping and finishing. In many renovation projects, choosing to replace textured drywall becomes a balance between speed, cost, and long-term surface quality.
Control Dust Before the Work Begins
Proper preparation determines how manageable any wall texture removal dust becomes during the project. Start by removing furniture from the work zone, sealing doorways and openings, protecting floors and fixed surfaces, and isolating heating and cooling vents to prevent dust circulation throughout the home.
Use appropriate eye and respiratory protection, and connect sanding tools to a dust extraction system whenever possible to reduce airborne drywall sanding dust. Keep children and pets completely away from the work area until cleanup is finished.
Before beginning aggressive scraping or sanding, especially in older homes, ensure that any existing coatings or texture materials have been evaluated for safety. Careful preparation makes it easier to prepare the room for skim coating and results in a cleaner, more controlled working environment overall.
Finish the Wall for a Truly Smooth Look
A wall is not truly complete just because the old texture has been removed. Achieving a professional, smooth wall finish requires careful inspection, minor corrections, and proper preparation before paint is applied.
Inspect With Side Lighting
Use a bright light angled across the surface to reveal ridges, pinholes, scratches, trowel lines, or uneven transitions that may not be visible under normal lighting conditions.
Complete Final Repairs
Fill any shallow imperfections, feather repaired areas into the surrounding surface, lightly sand only where necessary, and remove all remaining dust to ensure a clean base.
Prime Before Painting
Always prime after removing wall texture to help control uneven absorption, reveal hidden surface defects, improve paint uniformity, and prevent flashing over joint compound. When you paint newly skim-coated walls, lower-sheen finishes are generally more forgiving and help disguise minor imperfections better than high-gloss paints. Similar attention to surface preparation is essential before deck staining services to achieve long-lasting results.
DIY or Call a Denver Wall-Finishing Pro?
The decision between doing it yourself and hiring help depends on both scope and finish expectations. For small projects like a single wall with a light texture, DIY can be manageable if the surface is stable and minor imperfections are acceptable. It also requires careful dust control and patience.
However, professional skim coating Denver services are often a better fit when multiple rooms need smoothing, a Level 5-style finish is desired, or the walls show cracks, damaged paper, or uneven previous repairs. Large or high-ceiling spaces also increase difficulty and time.
In more complex cases, drywall repair Denver expertise can help restore damaged surfaces before finishing begins, ensuring a more consistent result. For full wall texture removal in Denver projects, Rockstar Painting Denver provides professional-level preparation and finishing that supports a clean, long-lasting wall surface without unnecessary rework. This attention to detail reflects the quality associated with rockstar painting standout.
Mistakes That Make Smooth Walls Look Worse
Most wall texture removal mistakes come from poor preparation, rushed decisions, and skipping key steps rather than the method itself. One of the most common errors is assuming every texture can be wet scraped without testing the surface first. Others include sanding before checking the wall’s age or material, over-applying water, sanding through damaged drywall paper, or applying joint compound too thickly. Avoiding these issues can improve the commercial painting business impact by delivering higher-quality finishes and reducing costly callbacks.
Skipping proper surface cleaning, rushing drying time, leaving ridges between skim coat layers, or failing to inspect under side lighting can all lead to visible skim coat problems. Painting directly over unprimed compound or attempting an entire house before testing a single wall often results in uneven finishes that require rework instead of smooth, consistent results.
Turn Rough Walls Into a Clean Finish
The best way to remove texture from walls depends on the surface condition and finish goals. Wet scraping works best for suitable unpainted textures, while skim coating is the most reliable method for most painted textured walls. Rockstar Painting sanding should be used mainly to reduce high spots rather than create a fully smooth surface. In cases of severe damage or failing material, drywall replacement may be the most practical solution for achieving truly smooth walls.
Homeowners who want paint-ready results without excessive dust, uneven skim coats, or compromised surfaces can contact Rockstar Painting Denver for professional wall preparation, drywall repair in Denver, and interior painting support.
Wall Texture Removal FAQs
Painted texture usually resists moisture, which makes scraping ineffective. In most cases, skim coating is more practical because it creates a new smooth layer over the existing finish rather than trying to break the paint bond.
Sanding works best for reducing shallow peaks or minor imperfections. Skim coating is more reliable when the goal is a consistently smooth surface, especially over painted or heavily textured walls.
Unpainted, water-based compound may soften enough to scrape after testing. However, painted texture typically does not absorb water well, so scraping alone is usually not effective.
The number of coats depends on texture depth, application quality, and the desired finish level. Multiple thin coats generally produce better results than one heavy application.
Yes, primer is important after texture removal. It seals joint compound, evens absorption, highlights imperfections, and creates a stable base for consistent paint coverage.