


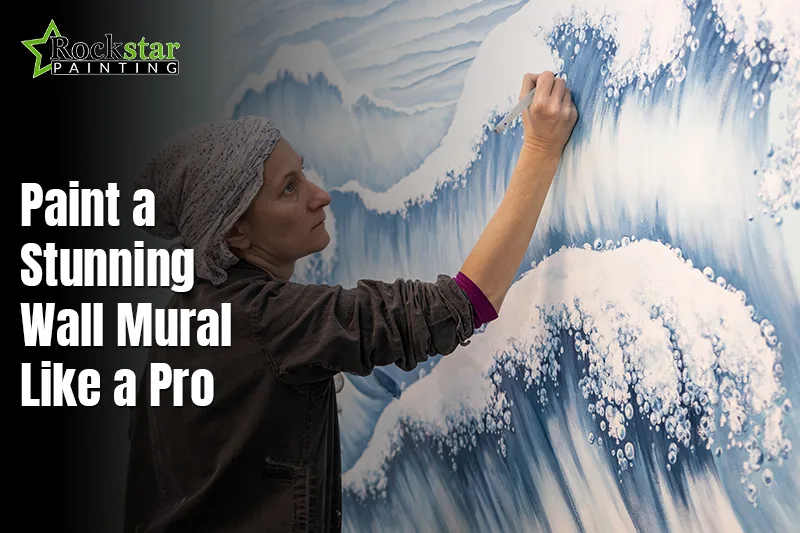
Wall Murals Can Transform Your Space
Murals add mood, story, and clear identity to rooms that feel plain. They turn blank walls into scenes that match taste, memory, and purpose. A bold garden can calm mornings, while soft shapes can ease long days. These choices help homes feel personal, warm, and grounded for daily life. The appeal is emotional because walls surround moments with color and meaning every day. People remember spaces that speak, and murals let rooms speak with clarity.
This guide stays simple and beginner-friendly, yet shares tested artist wisdom throughout. You will learn planning, sketching, layering, and finishing methods that build confidence. Tools and supplies are covered with clear reasons, order, and friendly cost guidance. Steps show where to start, how to adjust, and when to stop. The approach avoids hard jargon and keeps moves small, safe, and practical. With patience and care, results look neat and strong without extreme effort involved.
Interest in murals keeps rising as do-it-yourself décor grows in homes. Social feeds show families painting weekends together and sharing bright reveal moments online. Shops stock more paints, stencils, and projectors, which makes access much easier. In 2026, the trend continues because people want rooms that reflect their stories. Many decide to paint a stunning wall mural instead of buying more prints. A mural offers scale, charm, and pride that purchased décor rarely delivers.
Why Choose a Wall Mural?
The Power of Murals Over Wallpaper or Art Prints
Murals are custom by nature, so the result matches your exact taste. Wallpaper repeats a pattern, and prints repeat an image seen many times. Murals can change with your ideas, mood, and season without strict rules. This wall mural painting guide helps you set goals, choose styles, and plan steps. After any Drywall Repair, choose modern geometry for clean order, or nature scenes for bright, calm, and rest. Abstract scenes fit expressive moods, while playful themes fit kids and creative corners.
Cost also favors murals when you compare value over months and years. A few paint jars can refresh entire walls and shift the room’s mood. Brushes and tape last through many projects, which stretches small budgets with ease. The scale feels dramatic, yet the spending stays controlled and clear throughout. Friends can help, turning the task into a fun shared weekend plan. The work becomes a story, and that story adds daily joy.
Tools & Materials You’ll Need
Your Wall Mural Kit Checklist
Tools
Painter’s tape
Painter’s tape creates sharp edges, protects trim, and helps keep corrections minimal. It reduces time spent fixing messy lines and ensures neat borders throughout painting projects.
Step ladder
A step ladder provides safe access to high areas and reduces body strain. It holds tools within easy reach, which saves effort and keeps your strokes steady.
Brushes
Brushes vary by type. Wide brushes cover walls quickly, while narrow brushes handle detail. Soft blending brushes help create smooth transitions and distracting color breaks.
Rollers
These are perfect for covering large wall sections evenly and without streaks. They reduce effort when applying primer coats and help maintain consistent surface coverage.
Projector
A projector casts your chosen design onto the wall, guiding accurate outlines. This tool simplifies complex shapes. It helps maintain proportion and saves hours of stressful freehand correction.
Supplies
Acrylic paints
Acrylic paints dry fast and clean easily with water. It maintains vivid shades for years. They resist daily wear, making them dependable for both family spaces and artistic statement walls.
Primer
Primer strengthens paint adhesion, hides stains, and prevents uneven texture across surfaces. A proper primer coat builds a smooth foundation. It is saving paint layers and boosting the final mural quality.
Chalk or pencil
Chalk or pencil marks create guides without permanent effects, keeping mistakes manageable. Light sketches vanish easily, allowing corrections and layout checks before final paint application begins.
Drop cloth
A drop cloth shields floors from drips and splashes, saving significant cleaning time. Spread it fully under work areas to ensure each surface stays neat and protected.
Add the right mural painting tools early, and your process stays smooth and calm.
Prepping Your Wall (Step 1–3)
Prep is 70% of a Perfect Mural
Good prep saves time later and prevents flaws that appear after drying. Start by moving furniture, masking trim, and laying cloth to protect floors. Keep a small bin for dust cloths, sand sheets, and patch gear nearby. A tidy space reduces stress and lets you focus on patient craftsmanship.
Step 1: Clean and patch wall imperfections
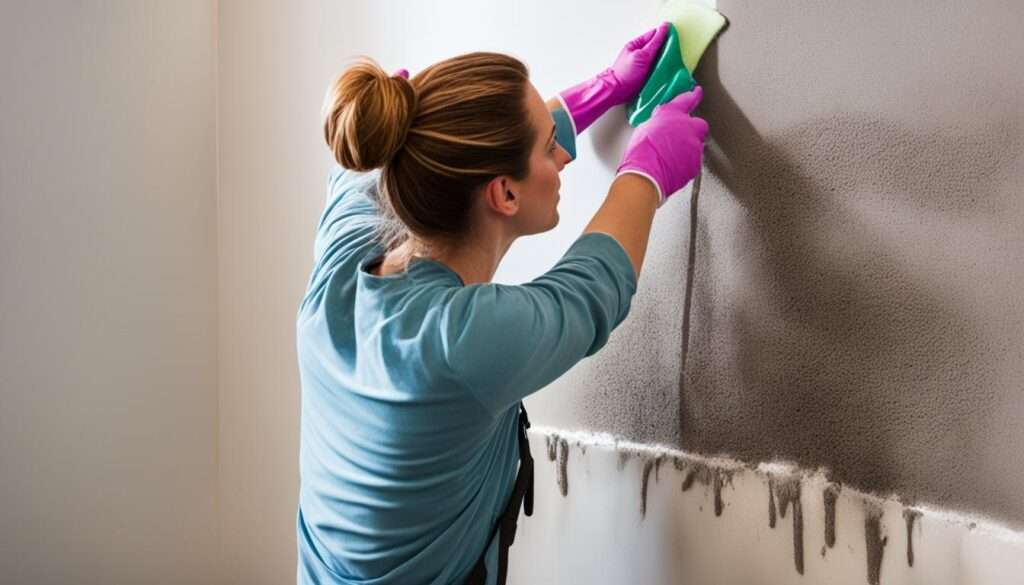
Begin by washing walls with gentle soap and hot water, then allow surfaces to dry fully. Fill small dents and cracks with patch compound, then sand carefully once cured. Wipe away dust using a damp cloth. Then wait until surfaces feel dry again. Use a lamp at an angle to spot bumps. Rough spots that need smoothing. Careful preparation ensures a level base. It helps paint colors appear bright and balanced.
Step 2: Apply primer for smooth coverage
Roll on primer from top to bottom using slow, even passes throughout. Cut in edges with a brush. Feather overlaps to avoid lines. Let primer dry as directed, then lightly sand if needed for smoothness.

Step 3: Sketch grid or project design outline

Mark a light grid with chalk, or project your design and trace outlines. Check the scale from across the room, then adjust lines before any paint touches. These DIY mural painting tips keep forms accurate and reduce stressful corrections later.
Designing Your Mural
From Inspiration to Wall
Select a theme that matches the room’s purpose and daily use patterns. Floral scenes bring freshness and soft movement. In contrast, geometry provides a calm structure. Nature views widen space and mood, while playful figures suit family rooms well. After a Popcorn Ceiling Removal, list three themes you love, then pick one that fits your room best. Gather sample images, but avoid copying. Aim for a clear personal twist instead. Your design should serve the room, not compete with furniture and layout.
Choose colors that match the room’s mood and suit the nearby furniture and light. Reds and golds feel bright and lively, while blues and greens soothe. Brush sample spots near corners and windows, then observe them under daily light. Keep a limited set of shades, then mix tints for gentle depth between shapes. Balance one strong shade with quiet companions so that eyes can rest between accents. Small tests save money and reduce guesswork during later, larger paint moves.
Decide your method: projector or freehand, based on comfort and time. Projectors help with portraits and complex curves that require faithful proportions and placement. Stencils ensure repeat shapes stay uniform across panels around doors. Freehand lines feel lively and personal when you sketch lightly before painting. Mix methods when needed, and keep notes for the order of steps and layers. These choices turn vague ideas into clear mural design ideas ready for paint.
Step-by-Step Painting Process
Paint Like a Pro, Even as a Beginner
Set up paints, water cups, and rags, then confirm your sequence and plan. Work from background to foreground, and keep a test board nearby for trials. Maintain wet edges where possible, and pause often to view from a distance. Small breaks prevent rushed strokes and help you spot issues before they spread.
Step 4: Block out large color areas

Start with base fields using rollers or wide brushes for steady coverage. Keep strokes in one direction so the sheen stays even under natural light. Leave thin gaps at edges for later line work, which prevents muddy blends. Step back often to judge balance, scale, and rhythm across the entire wall. Let layers dry fully before adding new coats to avoid dragging previous paint.
Step 5: Add layers and textures
Glaze thin color over dry areas to create soft depth and gentle cohesion. Dab with a dry brush for texture, or blend edges with light pressure. Vary opacity to suggest distance, shine, or fabric folds without complex tricks or gear. Keep a notebook of mixtures used, so matching touchups remain quick and easy.

Step 6: Define edges and outlines

Switch to small brushes, then walk lines slowly to avoid shakes. Use a mahl stick or taped guide to steady hands across long paths. Strengthen important edges and soften others so depth appears natural and clear.
Step 7: Add highlights and details
Place small accents where light would hit forms, then add restrained shadows nearby. Use dots, short lines, and tiny shapes that suggest texture without crowding compositions. Reserve bright accents for focal points so eyes land where you intend. Learning how to paint a wall mural step by step builds clean, confident results.

Techniques for Stunning Results
Tricks Artists Use
Blending brings colors together so shifts feel natural rather than abrupt lines. Work while the paint remains damp, and cross-hatch lightly to unify neighboring tones. Feather strokes outward, then soften borders with a clean brush just slightly moistened. Practice on a spare board until blends feel smooth, quiet, and repeatable on walls.
Layering adds depth that helps shapes read as space rather than flat symbols. Build from darker underpaint to lighter accents, which mimics how light behaves. Keep midtones broad, then add brighter notes where forms catch the strongest light. Thin glazes can tint areas without hiding marks that add life and interest. These moves qualify as friendly beginner wall mural techniques that reward patient practice.
Shadows and focal points guide the eye and give structure to scenes. Decide on a single focal point, then reduce contrast elsewhere to support that center. Cast shadows should agree on direction, length, and softness based on the chosen light. A few crisp highlights near the focus create a spark without visual noise.
Common Mistakes to Avoid
Avoid Beginner Pitfalls
Skipping primer leads to patchy coverage, dull colors, and poor long-term grip. Primer costs little and saves time by reducing coats and hiding old stains. Roll primer evenly, and let it cure before you sand for smoothness again. Good groundwork prevents headaches that appear days later when walls fully settle.
Cheap brushes shed hairs, leave streaks, and fight against steady control on lines. Buy two good brushes for lines and fills, then clean after sessions. Store bristles straight, avoid harsh scrubs, and keep ferrules dry to prevent swelling. Quality tools make painting calmer and results clearer across every planned section.
Overcomplicated designs exhaust energy, delay progress, and increase chances of messy errors. Choose a simple scheme, finish it well, then expand later with careful additions. Just like Deck Staining, short sessions beat rushed marathons because focus stays sharp and hands stay steady. Following DIY mural painting tips helps you avoid fatigue and keep morale high.
Protecting Your Mural
Keep Your Art Looking Fresh
Seal the finished mural with a clear coat after the paint cures as directed. Matte gives a soft look, while gloss adds shine and a deeper color effect. Brush or roll gently, avoid overworking, and watch for runs near vertical edges. A proper seal guards against dust, stains, and sunlight fade over the coming years.
Clean thoroughly with a soft cloth and mild soap from a small bowl. Avoid harsh chemicals and soaking excess water into porous wall surfaces. Dust often so grime never cakes into low areas or textured strokes, for guidance that supports long life. Keep this wall mural painting guide handy.
Inspiration & Trending Ideas for 2026
Fresh Looks for Modern Homes
Top 2026 mural trends:
Botanical walls
Think broad leaves, soft blooms, and climbing vines that suggest fresh garden air. Use gentle greens with warm accents so rooms feel calm while still lively.
Japandi style
Combine calm woods, quiet shapes, and open space inspired by two distinct traditions. Keep lines simple and textures natural for restful rooms.
Abstract minimalism
Use bold forms, careful spacing, and limited palettes to build visual clarity. Shapes carry the story, and small accents add rhythm without stealing focus.
Gather home wall mural inspiration from these themes, then adapt choices to your unique space.
Budget Breakdown
| Item | DIY Cost | Pro Artist Cost | Time Needed |
| Paints | $30–$60 | $150–$300 | 1–2 Days |
| Projector | $40–$80 rental | Included | |
| Brushes or rollers | $20–$40 | Included | |
| Sealant | $15–$25 | $50+ |
Plan purchases early, and note the needed mural painting tools to avoid repeat store trips.
Conclusion
Create a Custom Wall Masterpiece Today
Murals bring personality, scale, and joy while costing less than many décor choices. They let you shape mood, tell stories, and freshen rooms without big waste. Simple tools and patience lead to strong results that friends will often admire. Choose a plan, keep steps small, and enjoy the process from start to finish. You now hold the knowledge to handle design, prep, paint, and protection with care. Use it to paint a stunning wall mural that suits your space perfectly.
Start designing your mural today, or hire a painter if time feels tight. Sketch ideas, gather paint, and clear space so your project can begin soon. Share progress with friends, ask for advice, and celebrate each finished stage like a true rockstar with pride. CTA: Start your mural project or book a pro painter today.
FAQs
Real User Questions Answered
Before you begin, review common concerns that new painters share across many projects. Clear answers reduce stress and save budget by cutting avoidable mistakes and delays. Keep these notes close during work, and adjust plans as you learn more.
You can succeed without hiring someone when you prepare carefully and practice.
Acrylic paint covers well, dries fast, cleans with water, and lasts nicely.
Simple designs take two days. Complex scenes need several sessions for drying.
Let errors dry, sand lightly, prime spots, and repaint using calm, steady passes.
Yes. Clean surface, sand gloss, prime fully, then repaint using DIY mural painting tips.