


Fixing wall flaws before painting matters more than most people think. Even a small dent can ruin fresh paint. When you spend time on wall patching, the surface feels clean and smooth. Paint grips better on a level wall. This boosts paint adhesion and helps color stay bright for years. Old walls often show cracks or peeling spots. These signs mean it is time for drywall repair. If ignored, the paint will bubble or flake soon after. Fixing flaws first gives your wall a solid base. The room looks neat, and the finish feels natural.
Surface preparation does more than improve looks. It helps paint bond well and prevents early damage. You can also save money because the paint will not have to be redone very often. Even walls will reflect the light evenly and give a more open, bright feel to a room. Now let’s figure out how to begin. You will want to approach this in an organized fashion.
First, clean the wall. Then fill any holes with a good patching compound, cracks, and then once it dries, very lightly sand the surface to make it smooth and even again. This small effort gives a strong and smooth look that stays fresh. If you skip wall patching, paint cannot hide the flaws. Careful repair and priming make paint look clean and last longer. Before you lift a brush or roller, fix the wall first. That simple step brings a smooth, long-lasting color in your interior vs exterior commercial painting guide.
Common Wall Flaws Before Painting
Cracks, Dents, and Nail Holes
Walls age and show marks over time. You may see cracks or dents appear. Nail holes can spoil the smooth look. These small flaws can ruin fresh paint. Fixing them first helps create a clean wall. Wall texture repair helps paint spread better and stay bright longer.
Peeling Paint and Uneven Surfaces
Cracks form when walls shift or face moisture. If ignored, they grow and show later. Use drywall repair to seal and fill them. Dents from doors or chairs are common. Sand and patch those spots for a clean finish. Nail holes need filler before paint. Without repair, they stand out quickly. Uneven areas or rough spots need sanding, too. Old paint can peel and cause bumps. Scrape these areas until smooth for the best results.
Water Stains and Minor Damage
Water stains form from leaks or damp air. Paint over them and they return fast. Always clean and prime such spots first. Small bulges or cracks near windows also need repair. These show moisture or stress on the wall. Fix them before painting for a strong base.
If you skip repairs paint looks dull and patchy. Poor prep makes paint peel early. Wall texture repair and drywall repair create a smooth finish. A clean wall helps paint shine and last long.
Step-by-Step Wall Repair Process
Step 1: Inspect Walls and Mark Damaged Areas
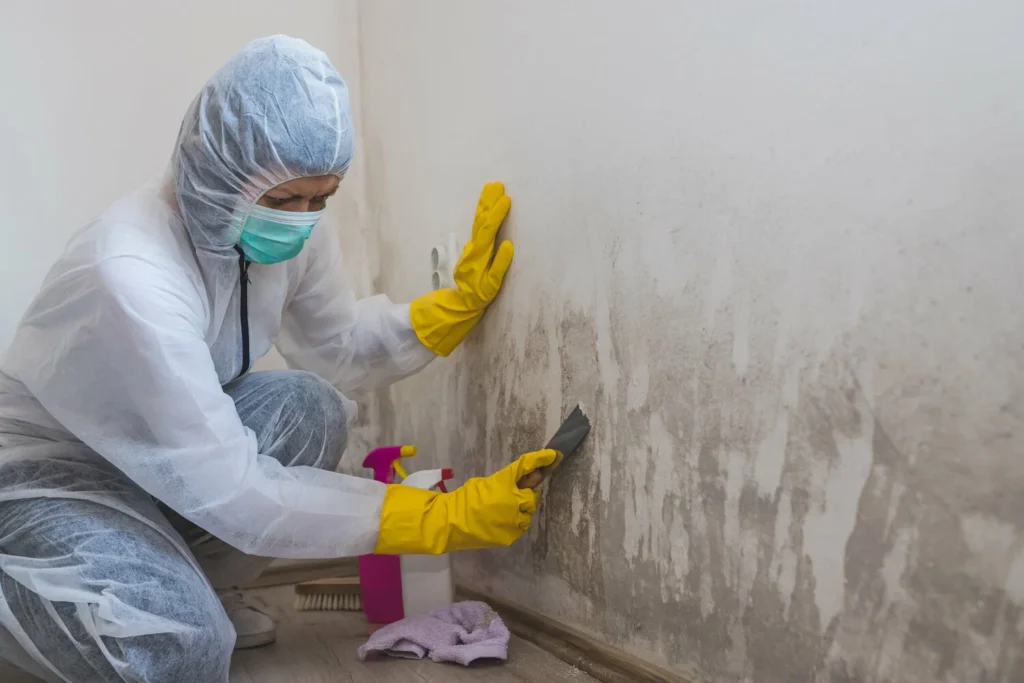
Look closely at every wall. Search for cracks, dents, or small holes. Even tiny marks show after painting. Use bright light to spot rough spots or uneven areas. Mark each flaw with a pencil to remember later. This makes crack filling and sanding easy to plan. This smart step saves your time and helps you to get a neat and clean finish.
Step 2: Fill Cracks and Holes with Joint Compound
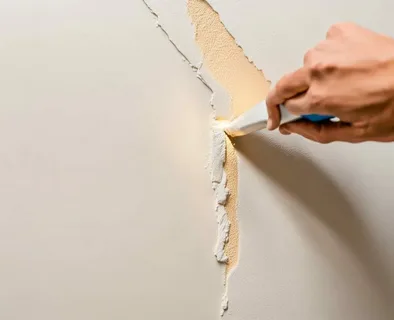
Now fix the damaged areas. Use a small knife or scraper to clean them. Remove loose paint or dust first. Apply joint compound inside the cracks or holes. Press it firmly until filled. Let it dry well before the next step. Deep cracks may require more than one paint coat. Thin layers dry faster and stay strong. Crack filling gives your wall a lasting base.
Step 3: Sand Surfaces Smooth for Even Texture
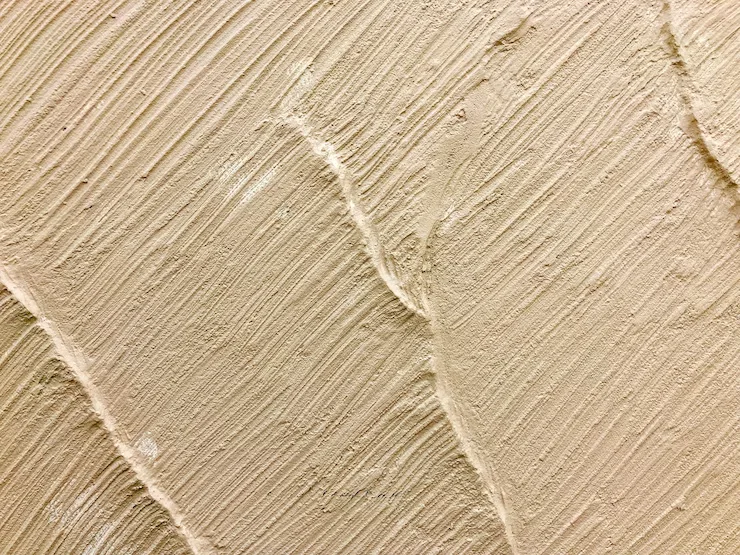
Once the filler dries, sand it gently. Use soft sandpaper for smooth results. Move your hand slowly in circles. Do not press too hard. Clean off the dust when done. The wall should feel even when touched. Sanding gives paint a neat and clean look. Skip this step, and the paint will look rough.
Step 4: Apply Primer to Prepare the Wall for Paint
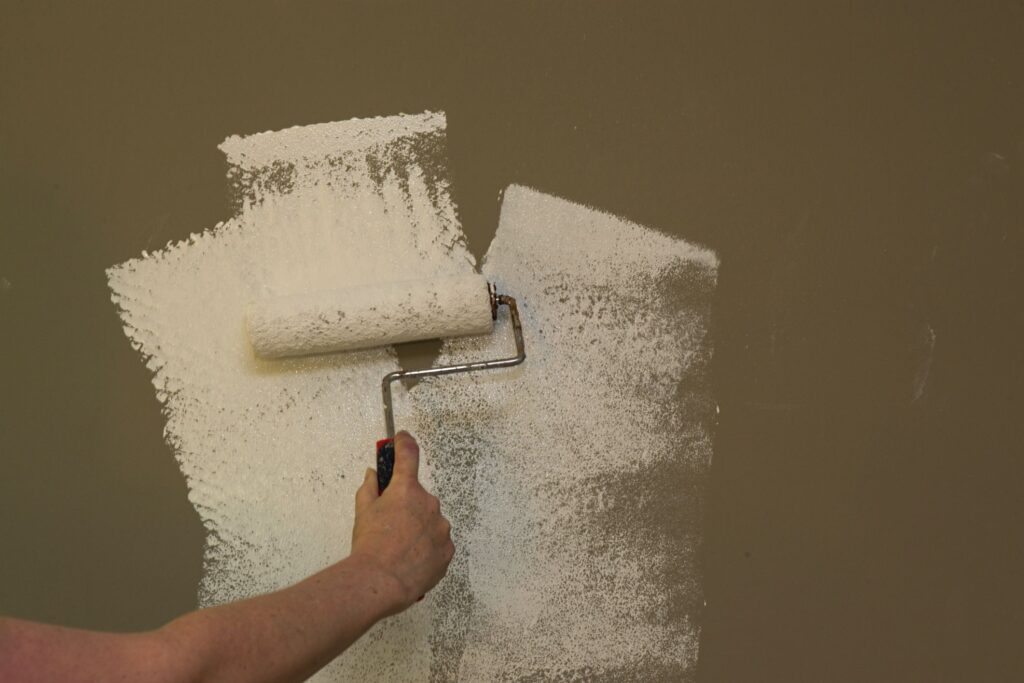
Priming comes next before paint. Choose the primer that suits your wall best. Use a brush or roller and coat the wall well. Let it dry fully. Wall priming helps paint stick better and last longer. It also hides small flaws and marks. A good primer improves color and makes walls look clean.
Tips for Moisture-Resistant Finishes
Rooms like kitchens or baths face more moisture. Use moisture-resistant primers there. Keep the air flow good and fix leaks first. This stops bubbles or peeling after the paint. Choose paint that fights against humidity. Good prep keeps walls safe from mold and damage. Follow each step with care. Every stage builds a solid surface for smooth paint. Crack filling, sanding, and wall priming make old walls look new. A bit of effort brings a clean, strong finish that lasts for years.
Tools and Materials Needed
Before you start drywall repair, get your tools first. Having them nearby saves time and effort. The right tools help you fix walls neatly and get a clean result.
Basic Tools for Repair
Start with a putty knife. It spreads the mix and fills dents or cracks. A wide knife covers large spots fast. Use sandpaper and a sanding block to smooth rough areas. These tools help make the wall smooth and get it ready for paint. A sanding block gives better grip and balance. Sanding is a short step but makes a big change.
Repair Compounds and Fillers
You will need joint compound, spackle, or a patch kit. Joint compound fixes deep cracks or wide dents. Spackle works for small marks and nail holes. Patch kits help with quick fixes on small spots. Let the filler dry well before sanding. This keeps the surface strong and smooth.
Painting and Protection Materials
Once the wall feels smooth, pick primer, painter’s tape, and drop cloths. Primer helps paint stick well and gives a fresh base. Painter’s tape keeps edges straight near doors or corners. Drop cloths protect floors from paint and dust. A clean work area helps you move with ease.
Optional Tools for Texture and Finish
If your wall has texture, using brushes or sponges helps to fine-tune and clean the finish. These help match the old pattern and blend repairs. For plain walls, a smooth finish works fine. Always check the wall before starting. With the right tools, drywall repair feels easy. Surface preparation gives a solid base and smooth finish. A little care now keeps walls looking fresh for years.
Common Mistakes to Avoid
When you start fixing wall flaws before painting, small slips can ruin your work. Many people rush this step and end up with uneven paint later. A smooth wall needs patience, not shortcuts. Skipping sanding or patching properly is one of the biggest mistakes. Paint highlights every tiny bump and hole. Always sand gently and fill gaps well. Feel the wall with your hand to check smoothness before painting. It takes time but gives a clean finish. Painting over unprimed walls is another common error.
Primer helps paint stick better and look even. Without it, the paint may peel or fade fast. A good primer also hides marks and makes the color brighter. Never skip it if you want lasting paint adhesion. Some ignore areas with moisture. Bathrooms and kitchens often have damp spots. Paint on wet walls never lasts. It may bubble or crack soon. Always dry and clean the surface before painting. Check corners and fix leaks if needed.
Using the wrong filler for the wall type can also cause cracks. Drywall and plaster need different products. Read the label and test a small patch first. The right filler blends well and keeps the smooth wall finish strong. Good painting starts with care and patience. Take time to repair and prepare the wall. These small steps make a big difference. Your paint will stay firm, look neat, and keep your walls fresh for years with professional drywall repair services.
Tips for a Professional Finish
A smooth wall finish does not happen by chance. It comes from patience and the right steps. Every stage matters, from repairs to the last coat of paint. Here are simple and effective tips that help you paint like a pro.
Match Texture Before Painting
Before painting, always match the wall texture. When patching cracks or holes, the new surface often looks different. If you skip texture repair, it will show through the paint. Use a sponge or texture spray to copy the old wall design. Look from different angles under light to make sure the blend feels right. This simple step keeps your wall uniform and neat. Proper wall texture repair hides flaws and gives the surface a natural look.
Allow Proper Drying Time Between Steps
Each coat needs time to dry fully. Many people rush between sanding, priming, and painting. Wet layers trap moisture inside the wall and lead to cracks later. Let every layer dry before adding the next. Lightly touch the wall to test dryness. Good drying time makes the surface firm and ready for paint. It also keeps the color even and smooth.
Sanding between coats removes small bumps and dust. It makes the wall feel soft and even. Use fine sandpaper and move in soft circles. After sanding, wipe the wall clean with a dry cloth. This step makes the wall smooth and ready for new paint.
Ensure Even Primer Coverage for Uniform Paint Application
Primer helps paint spread evenly and stay bright. Uneven primer leads to patchy results. Apply primer with steady pressure using a roller or brush. Cover every corner and edge. A smooth primer layer helps color shine evenly and last long. Taking these small steps ensures a lasting, clean, and smooth wall finish. Each stage builds the base for beautiful paint that stays fresh for years.
Conclusion
Fixing wall flaws before painting is your main job. It is the most important step you will take. Do not just paint over problems. That will not work. Good drywall repair is the first goal. It makes the wall strong again. Small wall patching fixes all the dings and holes. This is part of good surface preparation. It gets the wall ready for its new color. Next comes crack filling. Use a small knife for this task. Push the filler deep into the crack. Scrape it flat so it is smooth. Let it get dry all the way.
Now you need good sanding techniques. Use fine paper for this job. Sand the patched spots with light moves. Feel the spot with your hand. It should feel soft and even. This step helps with paint adhesion a lot. Your paint needs a good surface to grab. It will stick on and not peel off. You can also fix the wall texture repair. Make the whole wall feel the same. Some walls have a light bump feel.
You can copy that with a special tool. Or you can make it all flat. Wall priming is your secret weapon. Do not ever skip the primer. It seals the wall and the patches. It helps the paint look its best. The color will look rich and true. A smooth wall finish is your final prize. It looks so clean and feels so right. Rushing this job just makes sad walls. The paint can chip or look dull fast. Take your time and do it well. Your great paint job with Rock Star Painting will then last for many long years.
FAQs
You can, but you should not. It is a bad idea. The paint will just fill the crack. It will not hide it for long. The crack will show again soon. Temperature changes make walls move. The paint will crack open right there. Proper wall patching is the right way. It makes the wall solid and smooth. Then the paint has a good base.
First, find the water leak. Fix that problem for good. Let the wall get fully dry. This can take a long time. Do not rush this part. Then clean the stained area well. Use a strong cleaner and a cloth. You need a stain-blocking primer. This is a very special primer.
A PVA drywall primer is a great choice. It is made for new drywall and spackle. It seals the porous patches. This helps with paint adhesion so much. The paint will not soak in unevenly. A stain-blocking primer also works well.
This needs a careful eye and a light hand. First, do your basic wall patching. Sand it flat and smooth. Now you must match the texture. Look at the old pattern very closely.