


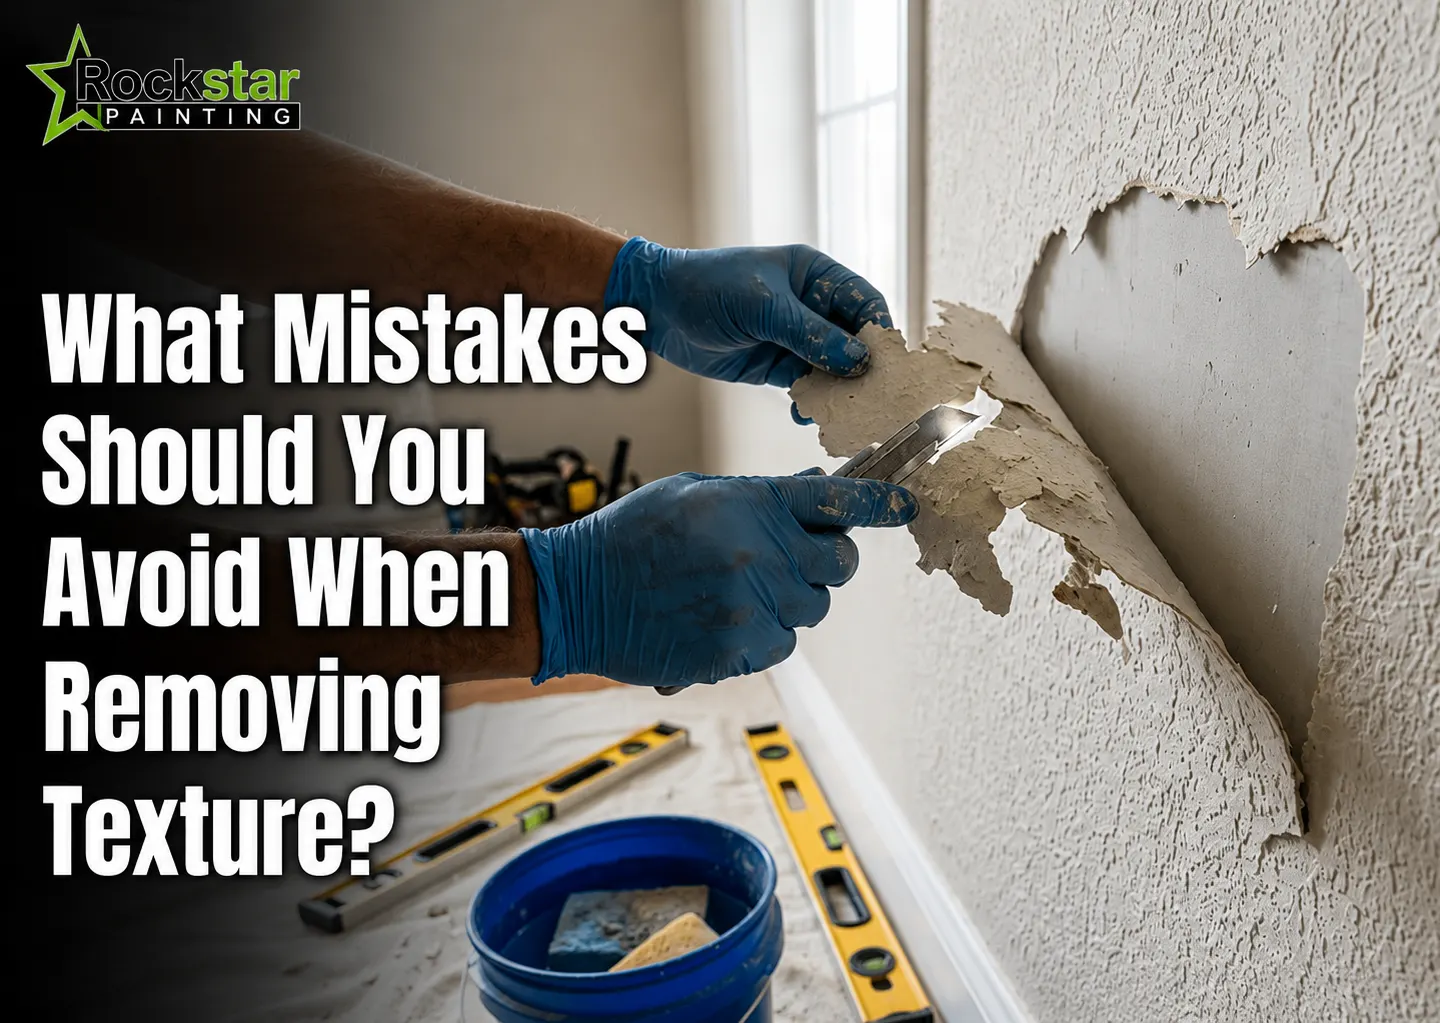
Removing wall texture may seem fast and easy at first glance. But small errors can lead to real damage. Many hidden wall texture removal mistakes show up only after the paint goes on. At that point, fixing them takes more time and effort.
You may think sanding or scraping will fix everything. But that is not always true. Too much sanding can harm drywall paper. Too much water can weaken the wall below. Even skim coat work can fail if done in a rush. You might see waves or tiny holes later. Now let’s slow down and look closer. This guide will help you avoid damage during scraping, sanding, skim coating, repair, priming, and painting.
Why Texture Removal Fails So Easil
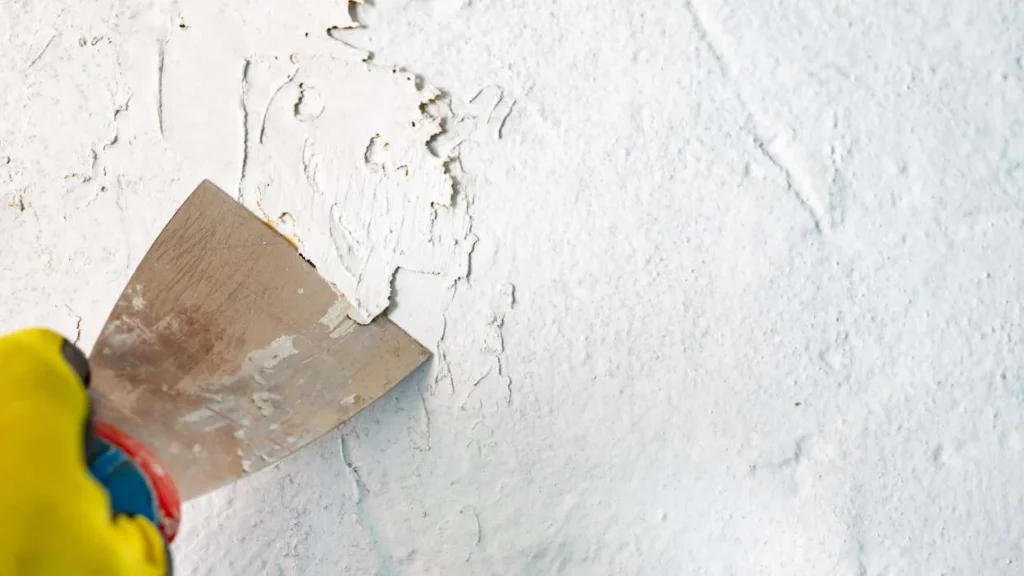
Most problems start before any work begins. Wall texture removal depends on many things. You might notice each wall acts in its own way. Painted textured drywall can block water from soaking in. This makes the job much harder. The wall surface also plays a big part. The same attention to preparation is valuable before deck staining services to achieve a long-lasting finish.
Now let’s see what else matters. The depth of the texture can change the result. Old repairs and paint layers can hide weak spots. The drywall below must stay in good shape. The finish you want also guides the work. A method that can remove texture from walls with unpainted orange peel may fail on painted knockdown texture.
Mistake 1: Skipping a Surface Test
A short test can save many hours of repair work. Most problems show up before full scraping starts. You might notice small signs that change the whole job. A good test wall texture check helps you pick the right method and avoid damage.
Test Water Absorption First
Start with a small hidden area. Lightly mist the surface with water. Wait a few minutes and watch what happens. See if the texture becomes soft. Check if water stays on the painted wall texture instead. Then scrape a small spot. This shows how easily the texture comes off.
Inspect What Lies Underneath
Look below the surface before moving ahead. Check for torn drywall paper. Find loose texture or small cracks. Watch for peeling paint and water stains. Look for old repair patches as well. A full water test for wall texture works best when you test every step. This gives a better result than scraping alone.
Mistake 2: Ignoring Hidden Hazards
Older texture needs extra care before any work starts. It should not be treated like normal drywall dust. Old textured walls may contain materials that need testing first. Dry scraping and sanding can spread fine dust through the room. The age of the home also matters. Lead-painted surfaces need safe work methods. If the surface looks unusual, then check it before removal begins.
Do Not Trust Appearance Alone
Looks can fool you. Color does not show what the material contains. The texture pattern tells very little. Thickness is not a clear sign. Easy scraping also proves nothing. Some asbestos wall texture can look much like newer finishes. A close check is always the safer choice.
Stop When the History Is Unclear
Now let’s see the safest step. If you do not know the age or type of the finish, then stop first. Ask for a proper test before work begins. This helps with lead paint removal safety and keeps the project on the right path. A small delay can prevent much bigger problems later.
Here’s the section written to match your style and SEO rules.
Mistake 3: Choosing the Wrong Method
The wrong method can create more work than the texture itself. Every wall needs a plan that fits its condition. You might notice one method works well on one wall but fails on another. Painted texture removal is often harder because paint blocks water from reaching the compound below. This keeps the texture firm and hard to scrape. The same careful evaluation is important when dealing with pull trowel texture finishes.
| Wall Condition | Better Approach | Common Wrong Choice |
| Unpainted water-soluble texture | Wet scraping | Heavy dry sanding |
| Painted texture | Skim coating | Repeated soaking |
| Light shallow texture | Controlled sanding | Aggressive grinding |
| Heavy knockdown texture | Skim coating | Trying to sand it flat |
| Loose or damaged surface | Repair and seal first | Coating over loose material |
| Severely damaged drywall | Replacement or overlay | Endless patching |
Skim coating does not remove every part of the texture. It covers the old surface with a new smooth layer. This is often the best answer when people ask whether to scrape or skim coat walls. It also helps those deciding to sand or skim-coat the texture. The right choice depends on the wall and the finish you want.
Mistake 4: Using Too Much Water
More water does not always make the job easier. Wet scraping wall texture works best with care. Too much water can soften drywall paper. It can cause bubbling paper and swollen wallboard. Weak edges may break apart. Drying also takes much longer. You may also face poor compound bonds and hidden water damage to drywall near outlets or trim.
Work on one small area at a time. Use a light mist instead of a heavy spray. Wait for the water to soak in. Test with a scraper before adding more. Stop if the drywall paper starts to soften. Painted surfaces may not soak the wall texture at all, even after more water is added.
Mistake 5: Scraping at a Bad Angle
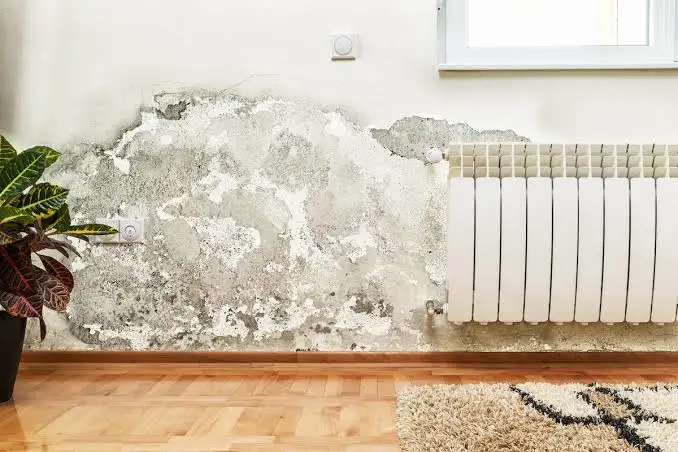
A scraper should slide under the texture instead of cutting into the wall. Many people scrape wall texture with the blade held too high. Some force-dried texture from the surface. A rough blade and hard pressure can also tear the wall. Stop at once if drywall paper begins to show.
Keep the drywall scraper angle low and steady. Use smooth and even pressure. Clean the blade often during the job. Work across small sections instead of large areas. Wait until the texture softens before scraping. This helps remove texture without drywall damage and leaves a cleaner surface.
Mistake 6: Sanding the Entire Texture
Sanding should lower high spots instead of grinding through the whole wall. Many drywall sanding mistakes start with heavy sanding. Painted texture can clog sanding pads very fast. Drywall paper may show before low spots become flat. Uneven pressure can leave waves and dips. Deep texture will not become smooth by sanding alone. Fine dust spreads fast through the room. Seams and fasteners may also become easy to see.
Know the Goal of Sanding
Use sanding to remove sharp peaks. Smooth dried skim coat ridges. Blend repaired areas into the wall. Prepare glossy paint when needed. Do not use a belt sander or other harsh tool to sand textured walls. If you plan to remove wall texture by sanding then work with care and only where sanding makes sense.
Mistake 7: Leaving the Room Unsealed
Most of the mess starts with poor planning instead of the wall. Good drywall dust containment keeps dust from spreading through the home. Now let’s see what to do before work begins. A few simple steps can save many hours of cleanup.
- Remove movable furniture.
- Cover all remaining furniture.
- Protect the flooring.
- Seal doors and other openings.
- Cover supply and return vents.
- Remove switch and outlet covers safely.
- Protect trim and built-in fixtures.
- Set up good work lighting.
- Keep sanding tools linked to dust extraction.
- Plan debris removal before starting.
A good plan helps prepare room for texture removal with less trouble. Wall sanding dust can spread into other rooms very fast. Ordinary home vacuums may blow fine dust back into the air if they are not made for this type of material.
Mistake 8: Skimming a Dirty Wall
Joint compound cannot fix a weak surface below it. Good skim coat adhesion starts with proper cleaning. Dust, grease, smoke residue, soap film, and loose paint can all cause problems. Chalky coatings, wallpaper glue, and flaking texture also reduce bond strength. Covering loose texture may hide the problem for a short time, but it does not fix it. If the wall has deeper issues, complete damaged drywall repair before applying a skim coat.
Remove all loose material before you begin. Clean greasy or dirty walls well. Let the surface dry fully. Dull glossy paint when needed. Seal torn drywall paper. Prime weak or doubtful areas. These steps help prepare walls for skim coating and clean walls before skim coating for a longer-lasting finish.
Mistake 9: Applying Mud Too Thickly
One heavy coat often creates more sanding instead of a smoother wall. Many skim coating mistakes begin with too much compound. Thick layers take longer to dry. They can crack shrink or sag. Deep blade marks may stay behind. Soft spots can hide below a dry surface. Extra sanding is often needed. The wall can also become uneven from one area to the next.
Use Multiple Controlled Coats
Apply several thin coats instead. This helps fill texture valleys little by little. You can smooth ridges between coats. It also gives better control during the job. Less sanding is needed. This is a better way to skim coat textured walls and build a flatter surface.
Keep the Compound Workable
Mix out all lumps before you start. Do not make the joint compound too thick or too watery. Work in small sections. Keep a wet edge as you move. Clean the drywall blade often. These simple steps help create a smoother finish with less effort.
Mistake 10: Rushing the Drying Stage
A wall may look dry but still feel soft below the surface. Poor skim coat drying time can lead to more repairs. A new coat may shift the first layer. The blade can pull soft compound away. Moisture may stay trapped inside. Cracks and bubbles can appear. Drying becomes uneven. Sandpaper also clogs much faster.
Think about coat thickness before adding another layer. Room temperature and humidity also affect joint compound drying. Good airflow helps, but follow the product guide as well. Fans should support steady drying instead of blowing dust across the wet surface. This helps when applying multiple skim coats and gives a smoother finish.
Repair Damage Before Adding Primer
Primer can reveal flaws, but it cannot fix them. Check the wall closely after texture removal. Look for torn drywall paper, gouges, loose tape, exposed joints, nail or screw heads, cracks, pinholes, and small texture spots. Uneven areas should also be repaired. Good wall repair before primer helps create a smooth final finish. Similar surface preparation is also essential before popcorn ceiling removal projects are refinished.
Remove all loose material first. Seal torn drywall paper before any patchwork. Repair joints and cracks. Fill low spots. Feather each repair into the wall. Let every repair dry fully. Sand the surface lightly. Remove all dust. Inspect the wall again. Then apply the right primer. This is the best way to repair drywall after texture removal for lasting results.
Do Not Paint Without Priming First
Paint and primer products do not always replace a true drywall primer. Fresh joint compound can absorb paint differently from old painted areas. This may cause flashing, blotchy color, uneven sheen, and visible repair spots. You may also need extra paint coats. A weak finish often starts with skipping primer after skim coating. Following these preparation steps also improves the commercial painting business impact by producing more consistent and durable results.
Choose a drywall primer or a problem surface primer that matches the wall condition. This helps prime repaired drywall for a more even finish. The primer also works as a final check. It makes pinholes, ridges, and uneven patches easier to see before you paint over the joint compound.
DIY or Professional Texture Removal?
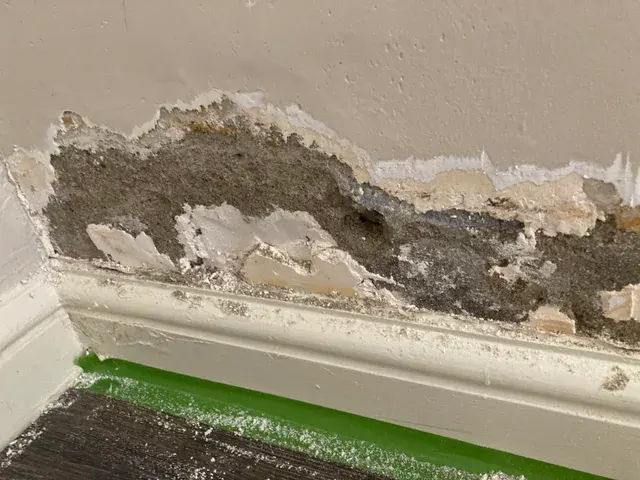
The best DIY choice may be knowing when to stop. Some projects stay simple. Others become much harder after work begins. A careful check before starting can save time and money. You might notice the wall needs more repair than was first expected.
DIY May Be Reasonable When
- The area is small.
- The texture is shallow.
- The wall is in good condition.
- The surface has been tested.
- Small finish flaws are acceptable.
Professional Help Is Better When
- Several rooms need smoothing.
- The texture is painted or very heavy.
- Drywall paper is already damaged.
- Cracks or water stains are present.
- Older materials may need testing.
- A smooth finish is expected.
- Dust control is difficult.
If the project becomes more than you planned, then expert help can save time and prevent extra repairs. Rockstar Painting Denver provides professional texture removal services in Denver, along with skim coating in Denver and drywall repair in Denver. Their commitment to quality reflects the standard associated with rockstar painting standout.
Avoid Mistakes for a Smoother Finish
A smooth wall starts with good planning. Test the surface first. Check if the texture is painted. Review older materials before work begins. Use only the water you need. Sand only where needed. Rockstar Painting control dust well. Apply thin skim coats. Let each coat dry fully. Inspect with side lighting. Repair damage and prime before painting.
For heavily textured, damaged, or painted walls, Rockstar Painting Denver provides professional drywall repair, skim coating, surface preparation, and interior painting for a cleaner and more consistent finish.
Wall Texture Removal FAQs
Paint often blocks water from soaking into the texture. Test a small hidden area first. If the surface stays hard, then skim coating is often a better choice than trying to wet scrape the entire wall.
Only high spots usually need light sanding. Heavy texture does not need full sanding in most cases. Too much sanding can expose drywall paper and create more repair work before skim coating.
The answer depends on the texture depth and wall condition. Skill also plays a part. Thin coats are easier to control. Most walls need several light coats instead of one thick layer.
Bubbles can form from dirty walls, trapped air torn drywall, paper, too much moisture, or poor bond. Loose paint below the compound can also cause the surface to lift during drying.
Paint rarely hides flaws. Small ridges, pinholes, and waves often remain easy to see. Eggshell satin and other higher-sheen paints can make these surface marks stand out even more.